During my free time I have been steadily working and preparing for the opening game of Delves. I have made progress on the project and wanted to offer an update of what I have accomplished thus far.
In my first Goal System: Delves post I unveiled the waterfall and frozen river system. I am happy to say I have completed that project and am quite pleased with the outcome.
This is a section of the river before the final touch ups.
The same section after some highlighting and flock.
Its amazing how the small details can make your models/terrain really pop.
The waterfall before highlighting, flock and Mod Podge
I was quite happy with this piece. For the texture for the white water I used your everyday plaster.
It was quite simple and easy. Texture the surface the way you wanted it and let it set over night.
Paint it and then apply the Mod Podge. The only thing I may change is applying the sand all around the base, rather then the white flock. I may do more white dry brushing to bring out the white water effect, but I am still pleased with the outcome.
While on vacation I was at the local discount store and came across this piece in the pet section. As soon as I seen it I knew it had potential. Two dollars later I had the terrain piece I would use for the entry way into the underground cavern for my Delves adventure. I primed and painted it up to what you see below.
With only a few pieces of terrain left to complete I started in on some of the models I would need for the adventure. And what fantasy adventure would be complete with out the undead! Specifically Skeletons!
The model with the scythe is from the old HeroQuest game and the other is from Darkworld. I went with a rather basic paint scheme as I wanted them to be quick and easy. I used GW Rotten Flesh as the base with a blue wash on the HQ skeleton and Devlan Mud on the DW skeleton. This was followed a layer of Rotten Flesh dry brushed. I went with a blue tint for some of the models as I thought it would fit the frozen genre. I still have the bases to finish but am planning on doing all the models the same time.

I plan on using this guy as a Mud/Earth Elemental. You can't really run an adventure with a magic using baddie and not have one of these around for him/her to summon. The model is from a Descent Expansion put out by Fantasy Flight Games. I primed this guy up and dry brushed from the P3 paint line. I started with Blood Tracker brown, then on to Gun Corps Brown to mix with Rucksack Tan. Then a full mix of Rucksack Tan to a mix of GW Bleached Bone. The stalagmite ends are GW Charadon Granite base with a layer mix with GW Bleached Bone. Again with so much to do I decided to go the quick route, but I was happy with the outcome.
I also painted up this model with a similar formula but wasn't really happy with the final product. I may revisit him later if I decide he is needed. This model is from the Fantasy Flight, World of Warcraft board game.
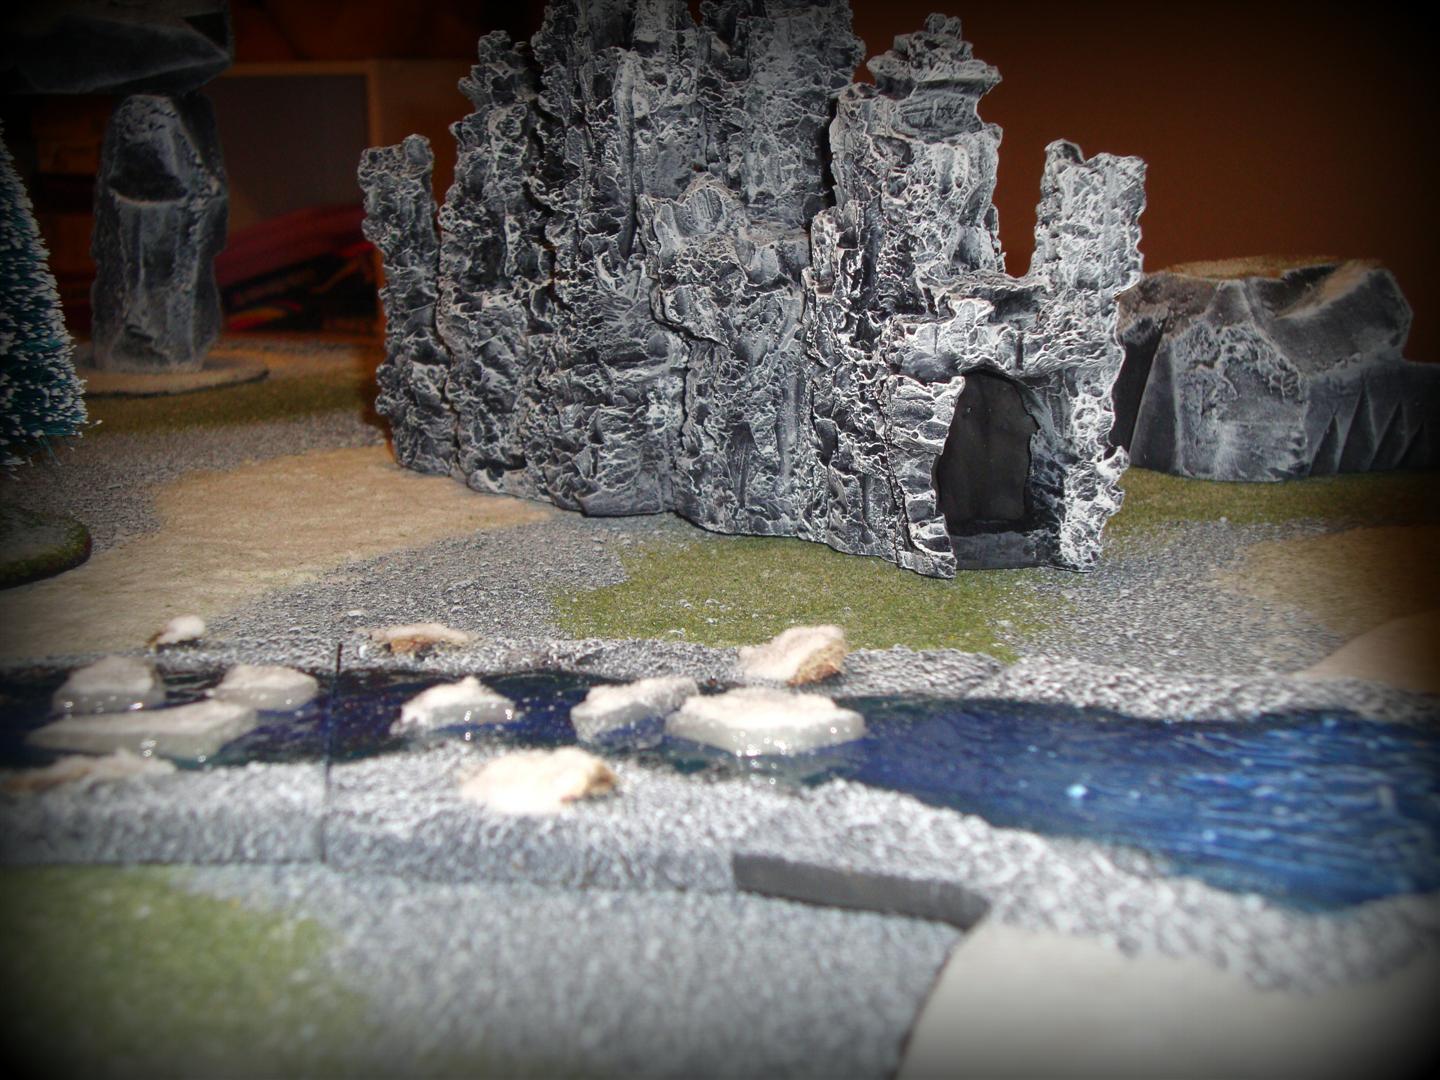
Here is a shot of what the final table will resemble. I still have more tree templates to finish, a few jagged hills and small castle building I am working on. But the progress has been steady which I am happy with.
I plan on switching gears a little for the next post and give you all some exposure of other games I have been playing and enjoying.
Until next time thanks for reading,
Tenz


.jpg)


.jpg)
.jpg)
.jpg)
+(Large).JPG)
.JPG)
.JPG)
.jpg)